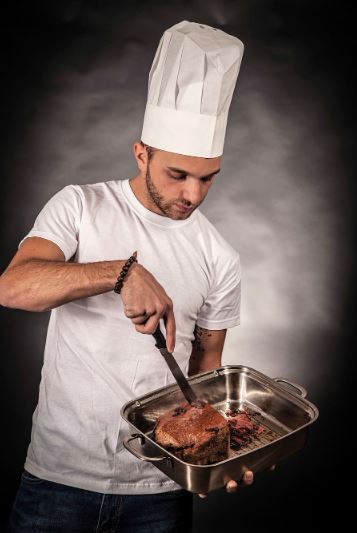
There’s something dangerous about garlic butter dinner rolls. The kind of dangerous that’ll make a grown chef cry, forget about the steak, and sit quietly with a tray of warm, golden rolls like they’ve just remembered something from childhood. But here’s the thing making truly excellent garlic butter dinner rolls isn’t just about tossing a few cloves in melted butter and brushing it on some dough.
It’s a craft. A science. A ritual. And oddly enough, it’s one of the most underrated flexes in the professional kitchen
This article dives deep into the gluten network, into the fermentation timelines, into butter fat percentages into all the messy, delicious detail that separates a good dinner roll from one that gets Instagrammed before it’s eaten.
Let’s get to it.
The Anatomy of the Perfect Dinner Roll
It starts with structure.
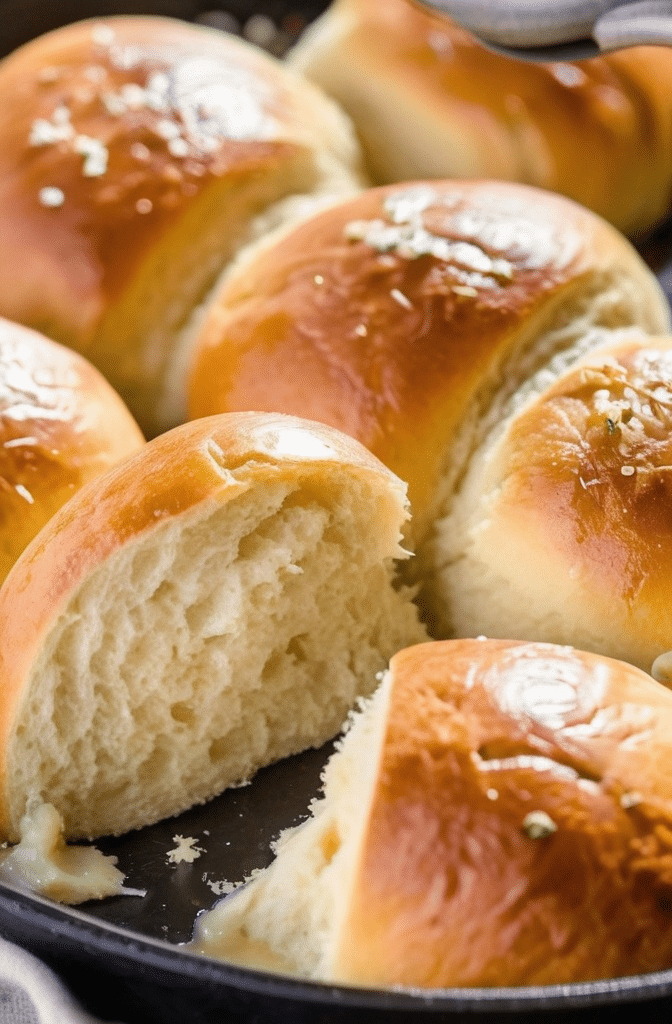
A dinner roll isn’t just a mini-loaf. It’s a microcosm. A soft, pillowy interior encased in a thin, golden shell. That contrast that’s everything.
You want elasticity but not chew. Tenderness without crumbling. That starts with the flour.
Go high-protein, and you’re halfway to ciabatta. Too soft, and you’re baking clouds. We’re aiming for balance: a protein content between 10.5% and 11.5% is ideal.
King Arthur’s all-purpose flour hits around 11.7%. That’s pushing the top edge, but manageable if you’re controlling gluten development elsewhere. A lower-protein flour like Gold Medal (10.5%)? That’s your friend if you’re pushing hydration or doing an extended ferment.
Yeast matters more than you think.
There’s this quiet war in baking circles active dry vs. instant yeast vs. biga vs. sourdough discard. For garlic butter rolls, you want predictability. Go with instant or rapid-rise yeast. It dissolves faster, integrates cleaner, and gives you consistent lift without the variability of longer ferments.
But and this is a big but don’t rush the rise.
The secret weapon? A slow, cold proof.
Stick that dough in the fridge overnight. Six hours minimum, up to 24. The flavor development you get from that cold ferment? Unreal. Yeast fermentation slows, enzyme activity increases, and you get this gentle, nutty sweetness in the crumb that no sugar can fake.
Milk. Not water.
This isn’t ciabatta. It’s not focaccia. Garlic butter dinner rolls need richness in the dough. Whole milk adds fat, sugar (lactose), and a bit of protein that makes the crumb softer and more luxurious.
Some pros add milk powder to boost this effect without increasing hydration too much. It’s a trick borrowed from Japanese milk bread and enriched brioche formulas. About 2% of flour weight in nonfat dry milk is a good starting point.
Butter: Not optional, not negotiable.
The name says it all.
Garlic butter dinner rolls demand butter in the dough and on top. But not just any butter. If you’re cooking in a high-volume kitchen, European-style butter (82-86% butterfat) gives you cleaner melt behavior and a richer finish. Plugrá, Président, or Kerrygold these are your friends.
Use unsalted butter in the dough so you can control the salt profile more tightly. Salted butter varies wildly between brands. You’re not gambling your dough for a shortcut.
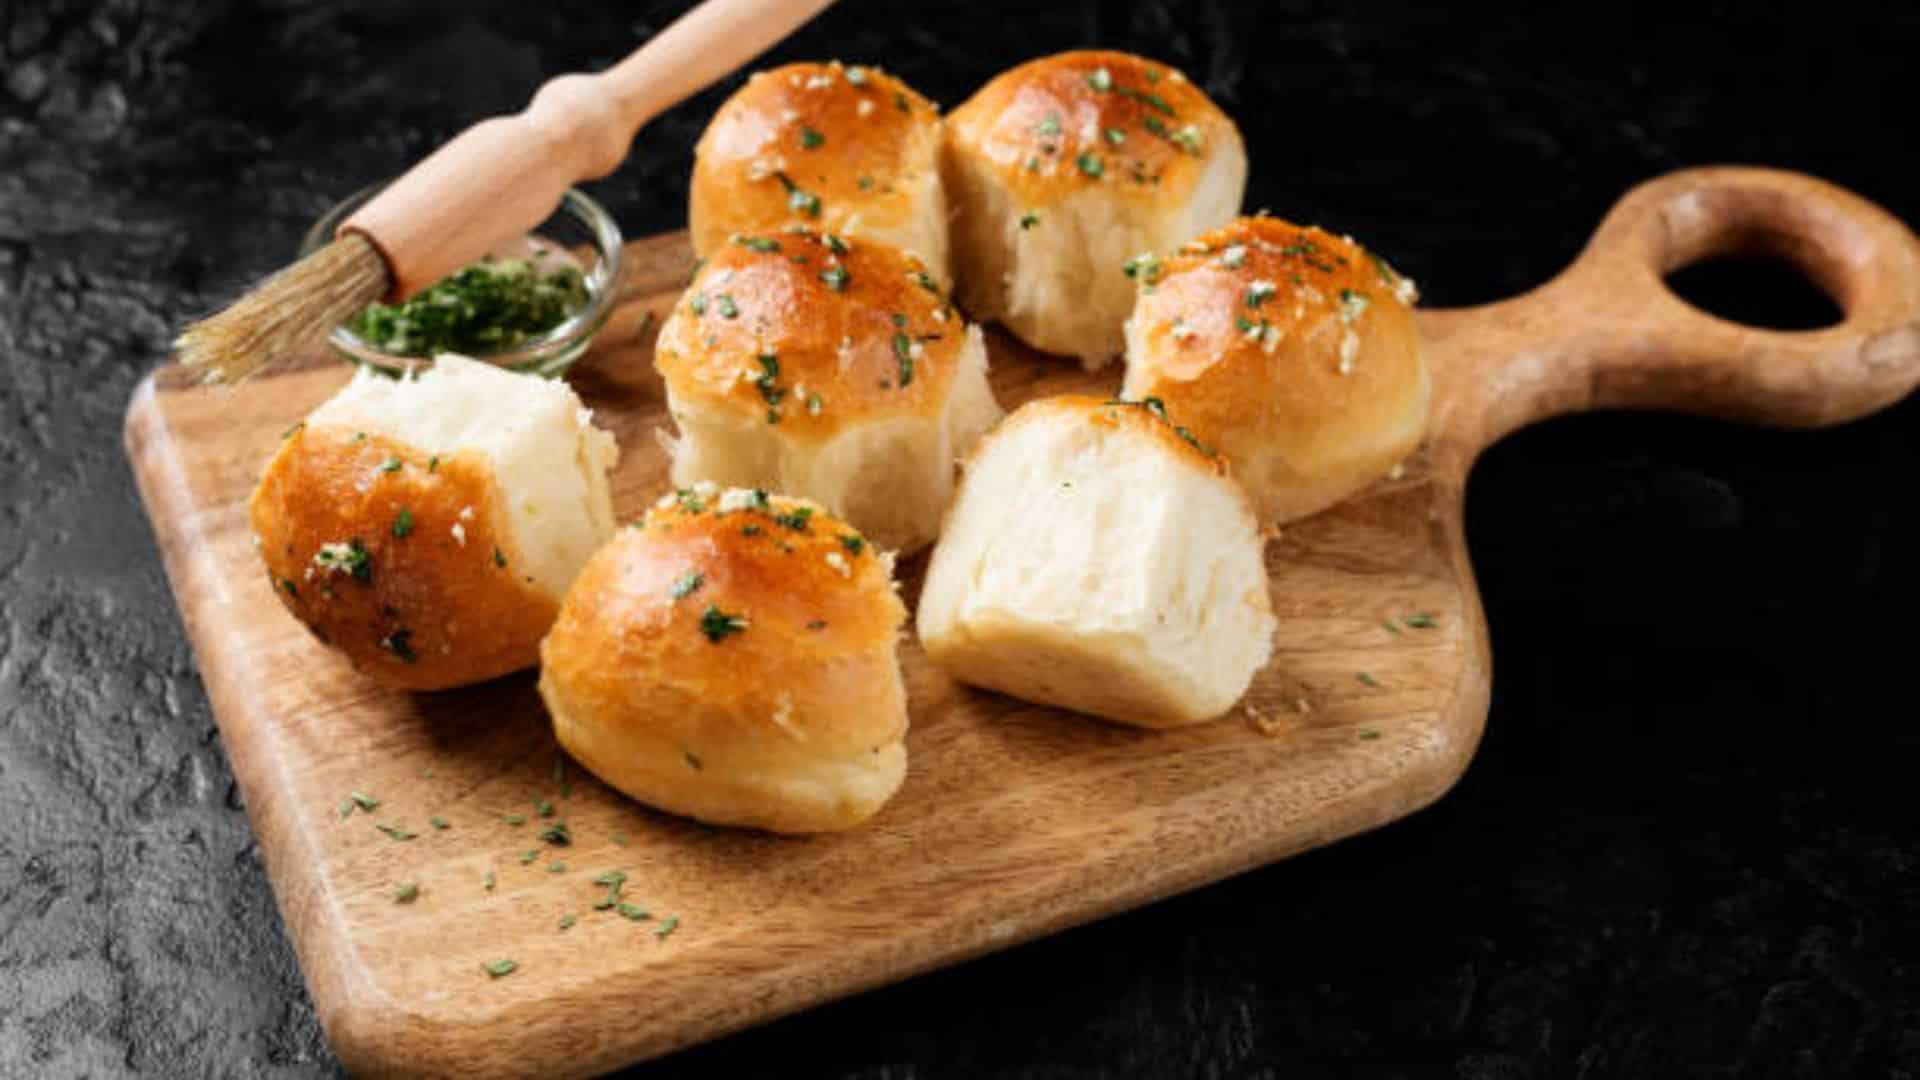
The Garlic Butter Crown: More Than Just a Glaze
Roasted garlic vs. ra
Look, raw garlic brushed onto a roll fresh outta the oven is a vibe. A strong, punch-you-in-the-face kinda vibe. But roasted garlic is where the magic’s at.
You slow roast whole heads cut off the tops, drizzle with olive oil, wrap in foil, 375°F for 45 minutes. The result is this buttery, mellow, caramelized garlic that practically melts on contact.
Mash that up, mix it into softened butter, hit it with a pinch of flaky salt and some finely chopped parsley or chives. Boom. Garlic compound butter. Heaven.
Timing is everything
Brush too early, and you risk burning the garlic on top. Wait too long, and it doesn’t soak in. The sweet spot? First coat the rolls with plain melted butter the second they come out of the oven. Then wait 3–4 minutes, and hit them with the garlic compound butter.
The first coat helps prevent crust hardening. The second adds flavor without killing the aromatic compounds in the garlic.
Dough Development: Stretching, Folding, Respecting the Process
Gluten is a fickle creature. Overwork it and your rolls turn tough. Underwork it, and they’ll collapse like a bad soufflé.
Hand kneading? Go 10–12 minutes until the dough passes the windowpane test. Mixer with a dough hook? About 7 minutes on medium-low.
But here’s the cheat code: stretch and folds.
Let the dough rest 20 minutes after initial mixing, then give it 3–4 sets of folds, 15 minutes apart. You get better structure, less oxidation, and a more open, tender crumb.
This technique borrowed from sourdough bakers translates beautifully to enriched doughs. Especially when you’re trying to avoid that dense, underbaked center so many dinner rolls suffer from.
Shaping: The Human Element
You wanna know the difference between a professional kitchen and a home baker? Look at the rolls.
Perfectly round. Seam on the bottom. Even tension across the top.
That tension? That’s everything.
When shaping, cup your hand over the dough ball and rotate it in a small circle on a non-floured surface. The friction tightens the surface and locks in the rise. You’ll feel it the moment it’s right. Smooth, taut, alive.
Let shaped rolls proof until they’re visibly puffy and hold a shallow fingerprint when gently pressed.
Baking: Not Just Time and Temp
Every oven lies. Every. Single. One
So instead of relying on time, aim for internal temperature: 190–200°F at the center of the roll. Use a probe thermometer. Trust data, not guesswork.
Bake at 375°F (convection) or 400°F (conventional) for 15–18 minutes. Rotate the tray halfway through. Color is your second cue deep golden brown, not tan. Tan means regret.
Common Mistakes Even Pros Make
Overproofing. Rolls that collapse like jellyfish when they hit the oven? You waited too long.
Underseasoning the dough. Garlic butter helps, sure, but bland bread is unforgivable. Go for 2% salt relative to flour weight. That’s baking math 101.
Skipping the second brush of garlic butter. That final coat adds sheen, aroma, and flavor saturation. It’s not optional. It’s gospel.
Using garlic powder instead of fresh or roasted. Come on. You’re better than that.
Trends in the Wild: What Top Kitchens Are Doing
Brown butter garlic rolls
Yes, really. Browning the butter before mixing with garlic adds a whole other dimension nutty, deep, almost toffee-like.
Miso butter rolls
Salted miso in the garlic butter adds umami punch. Just a teaspoon or two per stick of butter. It’s subtle but makes people stop mid-bite and go, “Wait, what is that?”
Fermented garlic or black garlic
Chefs looking for layers are using fermented garlic paste or black garlic to give the butter glaze a complex, almost balsamic sweetness.
This isn’t fusion. It’s evolution.
Final Tips for Service and Storage
Serve warm. Not hot. Let them rest 5–10 minutes post-bake. The internal steam needs to settle or you’ll get a gummy bite.
Brush again before plating. Just a little. For gloss. For glory.
If you’re prepping ahead for service, par-bake at 75% doneness (about 12 mins), chill, then finish baking to order. They’ll taste fresh every time.
Key Takeaways
– Use moderate-protein flour and enrich the dough with milk and butter
– Cold ferment the dough to unlock deeper flavor
– Prioritize roasted garlic for a mellow, caramelized butter glaze
– Shape with tension, proof until puffy, and bake to internal doneness
– Don’t skip the double butter brush
– Experiment with trending flavors like miso, brown butter, or black garlic
Garlic butter dinner rolls aren’t side dishes. They’re centerpieces disguised as carbs. Nail them, and guests will forget everything else they ate that night.
And that’s the kind of power you want in a kitchen.
So go on. Make ‘em. Make too many. Watch them vanish.