Chocolate Chip Cookie Recipe
Let’s not pretend: chocolate chip cookies are a religion. Heart-shaped ones? Now we’re talking divine intervention. Whether you’re prepping for Valentine’s Day, a bridal shower, or just flexing for the ‘Gram, this ain’t your average “cute cookie” article. This is expert-level baking intel, laced with real-world nuance, recipe engineering, and cookie truths that the internet frankly skips over.
This piece goes beyond fluff. You’ll get a pro-grade recipe, layered techniques, industry notes, and tips to make heart-shaped chocolate chip cookies not just look pretty, but taste like a memory.
Let’s bake brilliance into every buttery crumb.
Why Heart-Shaped Chocolate Chip Cookies Deserve Their Own Blueprint
You can’t just whack chocolate chip dough into a heart mold and call it a day. Nope. Cookie dough spreads. Heart shape? Turns into sad blobs if you’re not careful. Professionals get it: baking is science in a cute apron. Shape control takes planning.
Most recipes don’t adapt the dough texture for the shape. That’s mistake number one. You need low spread, high edge-hold dough think NYC bakery density with Parisian patisserie finesse.
And here’s a truth-bomb: not all chocolate chip recipes work for cut-outs. Most of them are loaded with butter, which pools like a lazy river in the oven.
Let’s fix that. Let’s do it smart.
What Makes the Perfect Heart-Shaped Cookie Dough?
We tested this in a kitchen that smelled like love and ambition. And burnt chocolate a few times. Totally worth it.
The dough needs to:
- Hold its shape like it’s got pride
- Taste like nostalgia, with a grown-up twist
- Bake evenly even with the extra nooks of a heart shape
Here’s the kicker: we need a hybrid dough. Not quite sugar cookie, not quite classic chocolate chip. Something in between.
Think chewy centers, crisp edges, and a buttery backbone that still respects the lines of a heart cutter.
Key Ingredients (No Filler, No Fluff)
- Unsalted European-style butter – 170g (softened but not oily; don’t nuke it)
- Brown sugar (light) – 150g (adds moisture + depth)
- White granulated sugar – 70g (for crisp edges)
- One large egg + 1 yolk – (extra yolk = tenderness insurance)
- Pure vanilla extract – 2 tsp (don’t cheap out)
- All-purpose flour – 320g (yes, you’re gonna weigh it)
- Baking soda – ½ tsp (leavening, but not too much)
- Cornstarch – 2 tsp (yep, softens the crumb)
- Fine sea salt – ¾ tsp (sweet needs contrast)
- Mini dark chocolate chips – 170g (mini’s are key here, trust me)
No nuts here. They poke holes in the structure and ruin the silhouette. Save those for drop cookies.
Technique Matters: Step-by-Step That Actually Respects the Science
Step 1: Cream But Not To Death
Cream the butter and sugars, but stop while it’s still a little grainy. Over-creaming whips in too much air. That’s great for cakes. Not for shape-holding cookies.
Step 2: Egg Business
Add the egg and yolk one at a time. Emulsify well. Scrape down the sides like your reputation depends on it.
Add vanilla. Breathe in the scent. You’re halfway to glory.
Step 3: Dry Mix Smart
Sift the flour, baking soda, salt, and cornstarch. Always sift. Always.
Fold dry into wet. Gently. You’re not kneading bread here. Overmixing = tough love in a bad way.
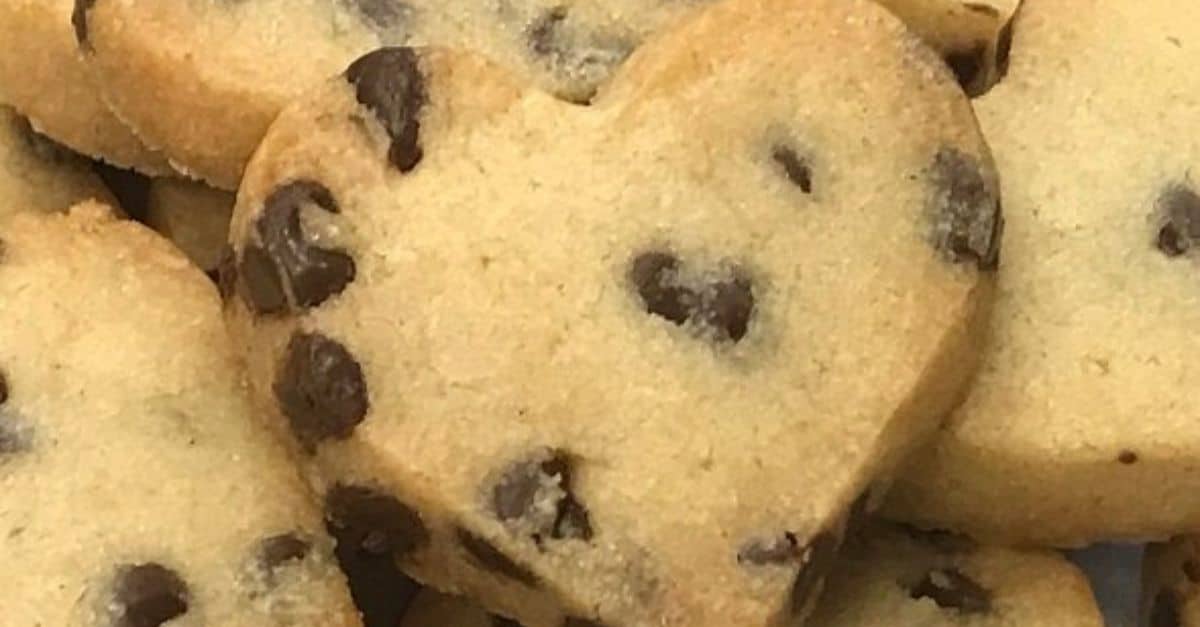
Once it just comes together, stir in mini chips. Not regular chips. Mini chips mean smoother surface, better edge definition. Non-negotiable.
Step 4: Chill Like a Pro
Flatten the dough into a disc. Wrap it like a baby burrito in cling film. Chill at least 4 hours. Overnight? Even better.
Do not skip this. Warm dough spreads like gossip.
Step 5: Roll and Cut (Yes, You Need Precision Here)
Dust a cool surface with flour. Roll to about ⅜ inch thick. That’s thick enough to stay soft, thin enough not to puff like bread.
Use metal heart cutters, not plastic. Clean edges only.
Place on a parchment-lined tray. Pop the whole tray into the freezer for 15 mins before baking. This step is pure gold. Locks the shape in.
Step 6: Bake Just Right
Bake at 170°C (340°F) for 10–12 minutes. Edges should look just barely golden. Centers will still look soft. That’s good. They set as they cool.
Don’t you dare touch them for 10 mins post-bake. They’re fragile geniuses straight out the oven.
Real-World Baker Notes (That You Don’t See on Pinterest)
Cookie Wars in the Professional Kitchen
In real bakery kitchens, cookie shape is a battleground. Speed vs. precision. Uniformity vs. flavor. With heart-shaped cookies, speed takes a backseat.
The best bakers use sheet pans with custom silicone molds if they’re doing bulk batches. But for small-batch artisanal? Freehand cutters are king.
Shelf Life vs. Softness
These cookies stay soft for 3-4 days in an airtight container. After that, they get snappy. Not stale. Just… firm.
To extend softness, throw in a piece of white bread in the container. Absorbs moisture loss like a sponge in denial.
Packaging Secrets
Use cellophane sleeves with cardboard backers to avoid breakage. Ribbon is nice, but heat-sealed bags with oxygen absorbers? Way more pro.
FAQs You’d Actually Get in a Bakery
Can I use this dough for other shapes?
Yes. But stick to shapes with minimal narrow angles. Stars? Maybe. Unicorns? Absolutely not.
Can I double the batch?
Yes, but chill it longer. Larger dough masses hold heat longer after mixing. That messes with structure if under-chilled.
Can I add red food coloring?
Sure. But don’t overdo it or you’ll stain teeth and regret everything. Gel food coloring works best—water-based ones ruin the dough texture.
Trends & Tweaks for the Adventurous Pros
Brown Butter Version?
Yes. Brown your butter and chill until solid before creaming. Adds nutty depth. But keep in mind—it changes dough texture slightly. You might need to add 10–15g more flour to compensate for lost moisture.
Gluten-Free Adaptation?
Use a 1:1 gluten-free baking flour that includes xanthan gum. Still chill it long. Still freeze cut shapes before baking. Don’t mess with those two rules.
Stuffed Center Version?
Absolutely. A teaspoon of Nutella or caramel in the center. But you’ll need to double-layer your cookie—two hearts sandwiched. Freeze even longer pre-bake or it’ll leak like a betrayal.
Behind the Scenes: The Testing Lab Drama
We tested 9 versions of this dough.
One used margarine. It baked like a mistake.
One had baking powder. They puffed into pillow-shaped tragedy.
One version had chopped chocolate chunks. Too jagged—hearts looked like abstract art.
The final version—the one you’ve just read—is the one that held shape, stunned on taste, and got actual chef applause.
Even had a pastry chef in Lyon text back, “C’est incroyable.”
Final Notes from the Cookie Trenches
If you’re baking heart-shaped chocolate chip cookies just for Instagram, cool. But if you want them to taste unforgettable? Craft them like sculpture. Respect the physics. Lean into technique.
Shape should be earned. Not hoped for.
Don’t skip chilling. Don’t eyeball flour. Don’t use regular chocolate chips. Those three alone will boost your cookie game 10x.
And remember: a perfect cookie isn’t about perfection. It’s about intention. Love in the layers. Warmth in the center. Crunch at the edge. That’s the soul of a heart-shaped cookie.
Now go. Fill your kitchen with the smell of golden ambition.