Red velvet cake isn’t just a recipe. It’s an experience—part science, part memory, part magic. Every baker worth their salt (and sugar) knows it’s not about throwing cocoa into a vanilla batter and calling it a day. No, sir. This one’s got layers, in more ways than one.
So if you’re here to learn how to make the real thing—the kind that makes grandmas cry and pastry chefs pause—you’re in the right place. Whether you run a boutique bakery in Brooklyn or a dessert line in Dubai, this deep dive will slice into what makes red velvet cake a culinary marvel.
The Myth, The Legend, The Cake
Some folks still think red velvet is just chocolate cake dyed red. That’s like calling a croissant “just folded bread.” Wildly wrong.
Historically, red velvet goes back to the Victorian era when cakes called “velvets” were made softer and finer than their denser counterparts. The red hue? It started naturally—an acidic reaction between cocoa and buttermilk brought out the ruddy tone. The cake earned its name from texture, not color.
It wasn’t until the 1920s that the modern version took hold—thanks in part to the Adams Extract Company. They marketed red food coloring alongside a recipe for red velvet cake. Smart, cheeky marketing.
So, What Really Is Red Velvet?
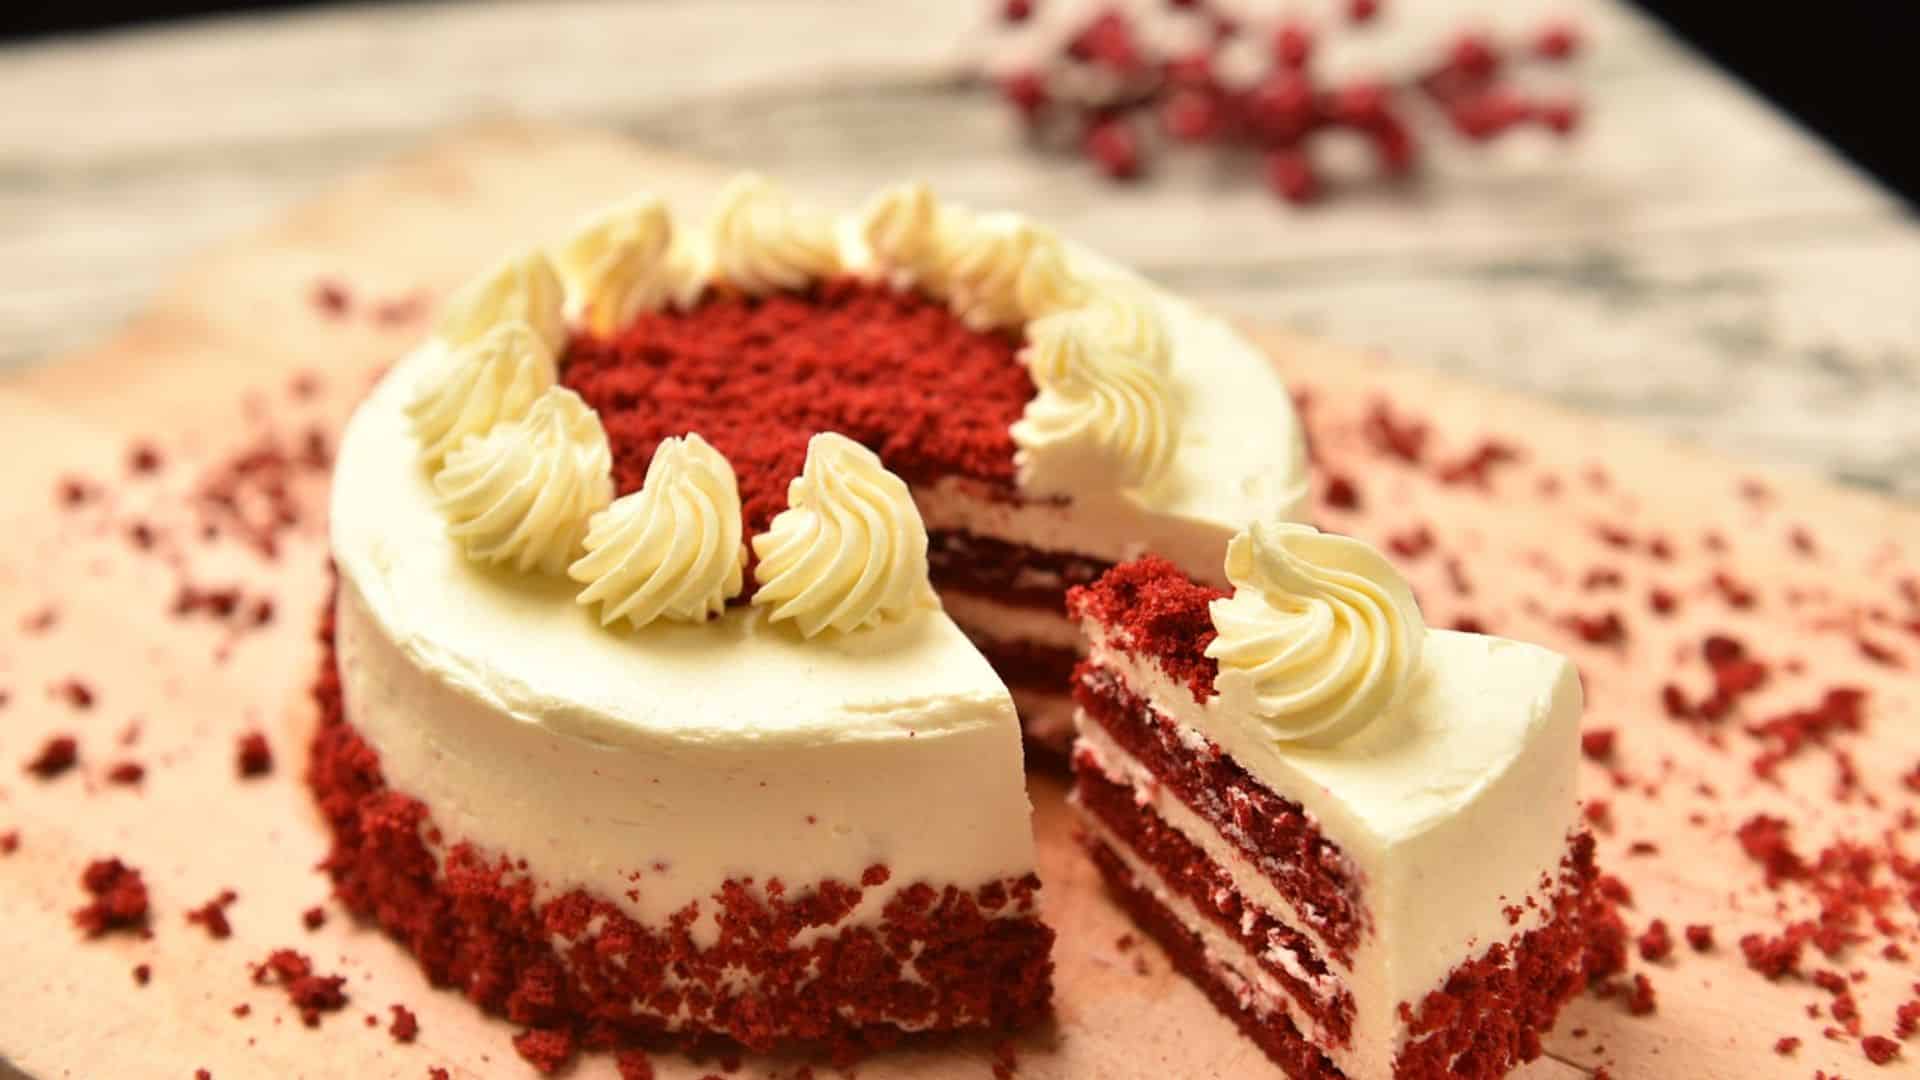
At its heart, red velvet cake is a tangy, buttery cake with a whisper of cocoa. It’s not a chocolate cake. It’s a chocolate adjacent cake. Big difference.
Key features:
- Acidic profile: Buttermilk and vinegar react with baking soda for a tender crumb.
- Subtle cocoa: It shouldn’t shout “chocolate!” It should whisper it.
- Rich fat base: Butter or oil, sometimes both.
- Iconic red color: Traditionally enhanced with food coloring, but the original color came from natural cocoa.
- Velvety texture: Moist, dense, yet light in mouthfeel—this is crucial.
It’s a balancing act, really. Get the cocoa wrong, it’s just chocolate. Skip the acid, and you’ve got a red-colored muffin.
Ingredients: The Core Cast
1. Flour
Use cake flour. Don’t fight me on this. Cake flour’s lower protein content (~7-8%) keeps the crumb delicate. All-purpose flour makes it chewy, almost breadlike. No one wants that here.
2. Cocoa Powder
Natural cocoa, not Dutch-processed. Dutch cocoa is alkalized—it neutralizes acids. And you need that acidity to interact with buttermilk and vinegar. Use 1–2 tablespoons. No more. This cake isn’t meant to taste like a brownie in a prom dress.
3. Fat
Oil gives you moisture. Butter gives you flavor. Use both, in a smart ratio. A 60:40 split (oil:butter) often hits the sweet spot. All oil? Moist but bland. All butter? Rich but slightly dry.
4. Buttermilk
Essential. The tang, the tenderness—can’t swap this out willy-nilly. No, yogurt ain’t the same. Real buttermilk helps the cake rise beautifully while keeping that gentle acidity.
5. Eggs
Two to three large eggs, depending on your batch size. They emulsify the fats and help bind. Too many, and the cake will get rubbery. Nobody needs a red sponge that bites back.
6. Vinegar
White vinegar or apple cider vinegar. Just a teaspoon. But don’t skip it—it reacts with baking soda to create lift.
7. Baking Soda
Not powder—soda. Works with the acids to raise the batter. Don’t mix the two unless you know exactly why (you probably don’t).
8. Red Food Coloring
Liquid works fine, but gel is better. You need a bold red to offset the cocoa. If you’re going natural, beet juice can be used, but it dulls after baking. Annatto? Too orangey. Hibiscus? Possible, but finicky.
Mixing: Where Most Go Wrong
Don’t just chuck everything in a stand mixer and hope for the best. Red velvet requires discipline.
- Cream butter and sugar until light and fluffy. Yes, this takes 3-5 minutes. No, you can’t rush it.
- Add oil slowly.
- Eggs go in one at a time. Don’t dump ’em in.
- Dry and wet ingredients should alternate: flour, buttermilk, flour, buttermilk. Always start and end with flour.
- Vinegar and baking soda are the finale—fold them in gently.
Overmix, and you lose the velvet. Undermix, and you’ll bite into baking soda bombs.
Baking & Cooling
Bake at 350°F (175°C) for 25–30 minutes. A toothpick should come out with moist crumbs, not clean.
Cool completely before frosting. This ain’t banana bread. Warm cake plus cream cheese frosting equals slippage and sadness.
Frosting Wars: Cream Cheese vs. Ermine
Cream Cheese Frosting
This is the popular pick. Tangy, rich, easy to make. Use full-fat cream cheese (not whipped), unsalted butter, and powdered sugar. Vanilla’s optional but helps round things out.
Ratio tip:
- 8 oz cream cheese
- ½ cup butter
- 2–2½ cups powdered sugar
Too much sugar? You’ll lose that tangy edge. Keep it snappy.
Ermine Frosting (a.k.a. Boiled Milk Frosting)
This is the OG. Cook flour and milk into a paste, then whip it with butter and sugar. No cream cheese. It’s lighter, silkier, and less sweet—great if your cake leans rich.
It’s old-school, and frankly, underused. If you’re baking for pros, this is how you show off.
Storage & Shelf Life
Red velvet keeps well. Frosted cakes last 4–5 days in the fridge, tightly wrapped. Unfrosted layers freeze beautifully for up to 2 months.
Pro tip: wrap layers in plastic, then foil. Thaw overnight in the fridge, not on the counter. Moisture condensation ruins texture.
Cost Considerations in Commercial Settings
Food coloring, buttermilk, and premium fats drive up ingredient costs. If you’re pricing red velvet for profit:
- Factor in coloring markup—especially if using natural alternatives.
- Ermine frosting is cheaper than cream cheese but requires more labor.
- Cupcake versions have better portion control and less waste—great for café menus.
Keep your COGS (Cost of Goods Sold) below 30% if possible. Red velvet sells on nostalgia and indulgence—don’t skimp, but don’t overspend.
Red Velvet in the Global Market
Interestingly, red velvet is booming in non-Western countries. In South Korea, it’s a wedding trend. In India, it’s huge during Valentine’s week.
Many bakeries are adapting the cake into cheesecakes, ice creams, even macarons. But quality varies. A good red velvet macaron needs cocoa notes and tang—most just taste like red sugar.
Common Mistakes (You’re Probably Making One)
- Using Dutch-processed cocoa. Kills the acidity. No rise, dull color.
- Overbaking. Makes it dry and crumbly.
- Too much coloring. Leaves a bitter aftertaste.
- Under-creaming butter. Leads to dense cake.
- Using low-fat dairy. Buttermilk needs fat. Period.
Is It Still Relevant in 2025?
Yep. Red velvet hasn’t dipped in popularity. What’s shifting is how it’s served. Think layered trifles, wedding towers, and vegan variations with beetroot and almond milk. The market’s demanding novelty—without sacrificing flavor.
Data from Google Trends shows red velvet maintains high search interest globally, especially during festive seasons. Pinterest searches spike every February. It’s not just a trend. It’s a tradition evolving.
Final Thoughts: Make It Mean Something
Don’t just bake a red velvet cake. Understand it. Respect it. This cake has a story—built on chemistry, history, and a whole lotta butter.
If you’re crafting it for a menu, use it to evoke something deeper than just flavor. It’s memory in edible form. The tang, the richness, the velvet—it’s the culinary version of a Southern drawl.
Give it that respect. And trust me, your customers will know the difference.
Actionable Tips
- Use natural cocoa and acidic ingredients for authenticity.
- Master ermine frosting—it’s a sleeper hit.
- Keep your bake time strict—no overbaking.
- Optimize red velvet for seasonal menus—Valentine’s, Christmas, weddings.
- Test small batches before scaling—red velvet isn’t forgiving at volume.
And lastly—always eat a slice warm, with someone you love, or at least like a lot. It just hits different that way.